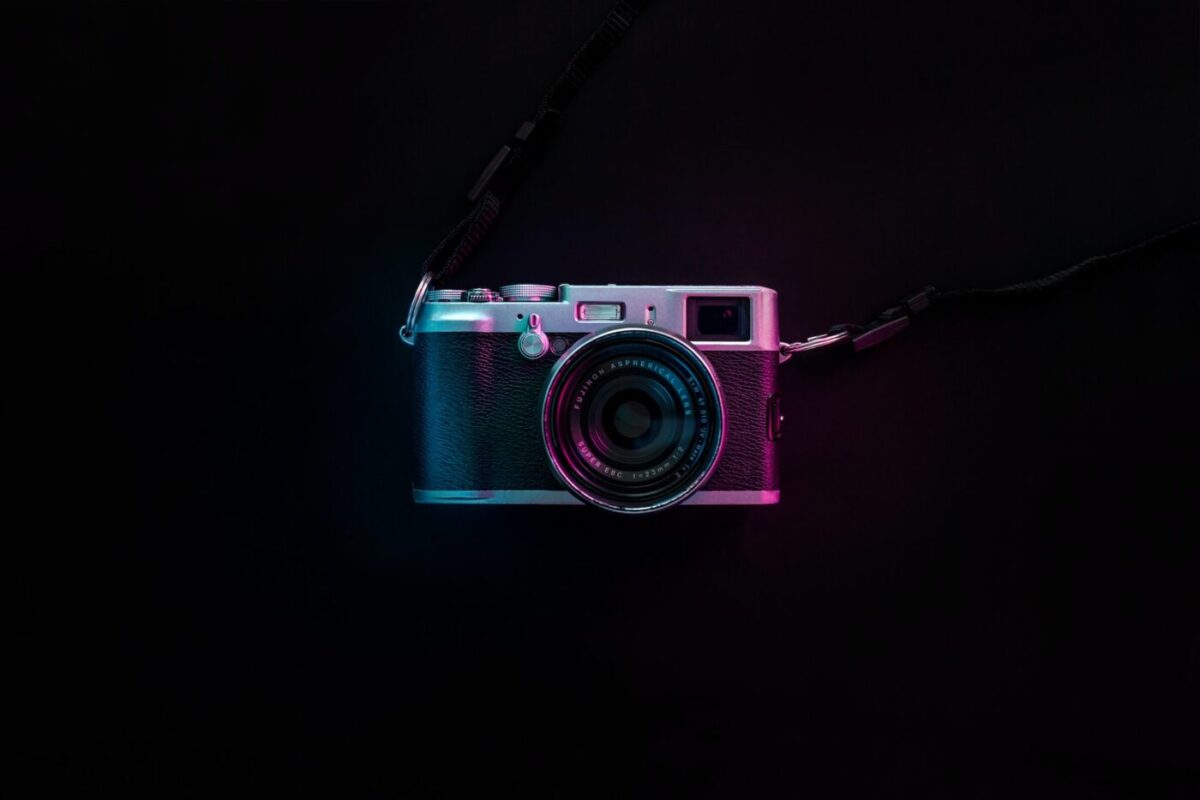
My camera gear in the original version of this article was deliberately compact: one Sony full-frame body, two zoom lenses, one inexpensive prime and a tripod. It covered street photography, travel, events, portraits, landscapes and the occasional subject that demanded more reach.
This is the equipment list I documented in February 2023. I am keeping that date visible because camera bags change, products age and “my current gear” can become inaccurate surprisingly quickly. What has lasted longer than any one item is the reason I assembled the kit this way: every lens had a recognisable job, and none of it replaced the need to go outside and take photographs.
My camera gear at a glance
| Equipment | Role in my kit | Where it was most useful |
|---|---|---|
| Sony a7 III | Main camera body | Travel, street, events, portraits and general photography |
| Tamron 28–75mm f/2.8 | Everyday standard zoom | Walk-around photography, indoor events and changing scenes |
| Tamron 70–300mm f/4.5–6.3 | Lightweight telephoto zoom | Distant details, compressed landscapes, wildlife and outdoor action |
| Sony 50mm f/1.8 | Small prime lens | Portraits, low-light scenes and shallow depth of field |
| Velbon tripod | Camera support | Long exposures, static compositions and slower, deliberate work |

The list looks simple because it was. The 28–75mm handled most ordinary situations. The 70–300mm brought distant subjects closer. The 50mm offered a brighter aperture and a different rhythm. The tripod solved the situations in which handholding was the wrong compromise.
Sony a7 III: my main camera body
The Sony a7 III was the centre of the system. It uses a 24.2-megapixel full-frame sensor, Sony E-mount lenses and five-axis in-body image stabilisation. On paper, those specifications made it a versatile camera. In practice, versatility was the more important point: I could take the same body on a city walk, into a dim event space or on a landscape trip and change the lens instead of changing the entire system.
I usually preferred manual exposure settings and recorded photographs in RAW. Manual mode gave me direct control when light was consistent or when I needed a specific shutter speed and aperture. RAW gave me more room to recover highlights, adjust white balance and shape colour later.
That does not mean manual mode is a badge of seriousness. Aperture priority, shutter priority and auto ISO can all be better choices when conditions change quickly. The useful setting is the one that lets the photographer respond without missing the photograph. My preference simply reflected the way I liked to work.
Why the body worked across different subjects
The camera was not the newest or most specialised body even when I wrote the first article. It did, however, remove many practical obstacles. Its full-frame sensor performed well in difficult light, autofocus was useful for people and movement, and the stabilised body helped when I worked handheld with lenses that did not contain their own optical stabilisation.
For me, the larger lesson was that a dependable, familiar camera can be more valuable than a specification upgrade. I knew where the important controls were. I understood how far I could push a RAW file. I knew when autofocus might need help and when a tripod would produce a cleaner result. That knowledge accumulated photograph by photograph.
Tamron 28–75mm f/2.8: the everyday lens
If I could take only one lens from this kit into an unfamiliar place, the Tamron 28–75mm f/2.8 would have been the practical choice. At the wide end, 28mm could include architecture, interiors and context. Around the middle of the range, it felt natural for documentary work. At 75mm, it could isolate a person or detail without forcing me too far from the scene.
The constant f/2.8 maximum aperture mattered indoors. It admitted more light than a slower kit zoom and made it easier to hold a usable shutter speed at events. It also gave me the option of a shallower depth of field, especially near the long end and at closer focusing distances.
Its strength was not that it did one spectacular trick. It was that I did not have to stop and change lenses every time a scene shifted. During event photography, that can be the difference between recording a moment and watching it disappear while the camera bag is open.
Where the standard zoom had limits
A 28mm starting point is useful, but it is not ultra-wide. In tight architecture or small interiors, I sometimes had to move, reconsider the composition or accept that the entire scene would not fit. At 75mm, it reaches beyond a normal perspective but does not replace a true telephoto lens.
Those limits were healthy. They made the role of the next lens clear instead of creating three overlapping zooms that all did nearly the same job.
Tamron 70–300mm f/4.5–6.3: reach without a huge bag
The Tamron 70–300mm extended the kit into telephoto territory. I could photograph distant details, animals, outdoor action and layers in a landscape without carrying the weight and cost of a large professional telephoto zoom.
At 70mm, it continued close to where the everyday zoom ended. At 300mm, it changed how I saw a scene. A telephoto lens does more than make a distant subject larger: it narrows the angle of view and makes separated planes appear closer together. Mountains can stack behind a building, city details can become graphic shapes, and a busy background can be reduced to a smaller, cleaner section.
The trade-off was aperture. The maximum opening changes from f/4.5 to f/6.3 through the zoom range, so the lens needs more light than the 28–75mm f/2.8. That is usually manageable outdoors. In dim conditions, it may require a higher ISO, a slower shutter speed or a tripod, none of which is automatically the right answer for a moving subject.
I wrote a separate hands-on Tamron 70–300mm review because this lens deserves more detail than a gear-list paragraph can provide.
Sony 50mm f/1.8: the small prime
The Sony 50mm f/1.8 was the simplest lens in the bag. It did not zoom. If I wanted the subject larger or smaller, I had to move or change the composition. That constraint slowed me down in a useful way.
The f/1.8 aperture was its main practical advantage. It could gather more light than either zoom at the same focal length, and it could separate a subject from the background with a shallow depth of field. I used that look for portraits and details, but I did not treat maximum aperture as the default. At close distances, f/1.8 can leave less of a face or object sharp than intended. Stopping down slightly often produced a more dependable photograph.
A 50mm lens is frequently recommended to beginners, sometimes as if everyone sees the world in the same way. I would frame it differently: it is inexpensive access to a bright aperture and a fixed point of view. Whether that view feels natural depends on what and how you photograph.
The Velbon tripod: unglamorous and useful
A tripod rarely attracts the same attention as a new camera or lens, but it expands what a camera can do. It allows long exposures without relying on very high ISO, helps keep a sequence of frames aligned and encourages more precise composition.
I used a Velbon tripod rather than treating support gear as another luxury purchase. Stability matters more than status. The important questions are whether the tripod safely holds the camera, whether I am willing to carry it and whether its controls let me work without fighting them.
For moving through a city, I often preferred to stay light and handheld. For water, night scenes or a carefully framed static subject, taking the tripod could be the more important decision than choosing between two lenses.
How the lenses divided the work
| Situation | First lens I would consider | Why |
|---|---|---|
| General travel walk | Tamron 28–75mm f/2.8 | Covers context, normal views and short telephoto details |
| Indoor event | Tamron 28–75mm f/2.8 | Flexible framing with a constant bright aperture |
| Portrait with environmental context | 28–75mm or Sony 50mm f/1.8 | Zoom for speed; prime for a brighter aperture and simpler composition |
| Distant animal or architectural detail | Tamron 70–300mm | Reach and a narrow angle of view |
| Compressed mountain or city layers | Tamron 70–300mm | Telephoto perspective isolates and stacks distant planes |
| Night cityscape or long exposure | Any suitable lens plus tripod | Stability becomes more important than maximum aperture |
| One-lens day | Tamron 28–75mm f/2.8 | The broadest practical coverage in this particular kit |
This table is not a rulebook. I have used lenses “wrong” and made photographs I liked. A wide lens can make a powerful portrait; a telephoto can make a quiet landscape. The point of assigning roles is to reduce indecision, not to eliminate experimentation.
My editing workflow: RAW first, software second
I primarily used Adobe Lightroom and Photoshop. Lightroom handled the majority of the photographic workflow: importing, selecting, organising, correcting exposure, shaping colour and preparing files for output. Photoshop was there when an image required more local or structural work.
I also explored GIMP and Darktable. Both are free, but they serve different parts of the workflow. Darktable is oriented toward RAW development and photo management; GIMP is a pixel editor better compared with the image-editing side of Photoshop. Neither program improves a weak decision merely because it has many controls.
My basic sequence was straightforward:
- Import the RAW files and make a first selection.
- Correct exposure and white balance before chasing a style.
- Adjust highlights, shadows and contrast while watching important detail.
- Refine colour only after the tonal structure works.
- Use local adjustments where the viewer’s attention needs guidance.
- Crop and straighten with the final use in mind.
- Export a separate file at the size and quality required for web, print or delivery.
I prefer to judge an edit by the photograph, not by the number of sliders moved. Some files need very little. Others need more interpretation. The process is finished when the image says what I wanted it to say without calling attention to the software.
What I would tell a beginner before buying camera gear
I once gave equipment too much importance. That is easy to do because shopping feels measurable: one body has more megapixels, one lens is faster, another chart shows sharper corners. Learning to recognise light, anticipate a moment and build a frame is slower and harder to compare.
Before buying anything, I would ask four questions.
What photograph can I not make now?
The answer should be specific. “My camera is old” is not enough. “I cannot frame birds at a safe distance,” “my indoor shutter speed is too slow,” or “I need consistent files for paid video work” identifies an actual limitation.
Is technique the real limit?
Missed focus may come from the autofocus mode. Blurred action may come from shutter speed. Flat landscapes may come from light and composition. A new purchase only helps when the equipment is genuinely responsible for the problem.
Can I rent or borrow the solution first?
A day with a lens can reveal more than a week of reviews. Weight, balance, control placement and focal-length preference are personal. Renting is especially useful for expensive, specialised equipment that may only be needed occasionally.
Will I carry it?
The best-performing lens at home contributes nothing. A smaller, lighter setup can produce more photographs simply because it comes along. My 70–300mm made sense partly because it added reach without turning every walk into an expedition.
What matters more than the kit
Camera gear matters, but not in the way advertising often suggests. The wrong tool can block a photograph; the right one can make the work smoother. Neither can decide where to stand, what to exclude, when to press the shutter or why the frame should exist.
The most useful part of my 2023 kit was its clarity. I knew which lens to reach for and why. That left more attention for the subject. If your own equipment already allows you to practise the kind of photography you care about, the next meaningful upgrade may be time: another walk, another event, another morning in difficult light, and enough photographs to discover what is truly missing.