
The Eiffel Tower presents a peculiar problem. I can recognise it from a few iron lines, yet a photograph containing the whole structure can still say almost nothing. The monument is so familiar that the camera risks recording a symbol rather than a place.
My solution is to begin farther away. I look for the part of Paris that can share the frame: a bridge column, a line of trees, a quiet stairway, the curve of the Seine or the hard geometry of a residential street. Distance makes the tower smaller, but it gives the photograph a reason to exist.
The opposite approach can work too. Beneath the tower, the postcard disappears. Iron fills the view and the structure becomes abstract—arches, rivets, repeated beams and negative space. Between those extremes lies nearly every worthwhile Eiffel Tower photograph: not a hunt for a secret spot, but a decision about scale, context and light.
I love to walk, and this is a subject best understood on foot. The classic Trocadéro view, the river, Bir-Hakeim, the Champ de Mars and the streets of the 7th and 16th arrondissements are close enough to become one continuous photographic route. The tower changes character every few blocks.
This guide replaces my earlier gallery-style article with something more useful: ten specific viewpoints, what each one contributes, the lenses and settings I would begin with, an honest explanation of night-photo rights, and the practical details that matter if I also want to go up the tower.
My short recommendation: Start at Trocadéro before the busiest part of the morning, walk through the gardens toward Bir-Hakeim, cross to the Champ de Mars, photograph the structure from below, and return to the Seine for blue hour. One subject is enough for an entire session.
Eiffel Tower photography at a glance
| Question | Practical answer |
|---|---|
| Best all-round viewpoint | Trocadéro esplanade for the complete, symmetrical view |
| Best architectural frame | Pont de Bir-Hakeim |
| Best quieter urban frame | Avenue de Camoëns, while respecting residents and other visitors |
| Best close perspective | The centre of the esplanade beneath the tower |
| Best elevated view | Tour Montparnasse or the Arc de Triomphe terrace |
| Best time for fewer people | Early morning, especially outside summer weekends and holidays |
| Best time for colour | Golden hour into blue hour |
| Useful lenses | A standard zoom plus a short or medium telephoto; an ultra-wide lens is optional |
| Tripod | Useful at blue hour, but keep it compact and never obstruct a path or viewpoint |
| Night-photo rule | Private photography and social sharing are allowed; professional use of images showing the protected illumination requires prior authorisation from SETE |
| Tower height | 330 metres including its current antenna |
| Cheapest adult tower ticket in 2026 | €14.80 for stairs to the second floor; verify current rates before visiting |
First decide what the tower should do in the photograph
Before choosing a location, I make one decision: is the Eiffel Tower the subject, the frame or the punctuation mark?
At Trocadéro it is the subject. The composition is direct and monumental. At Bir-Hakeim the bridge can become equally important, turning the tower into the destination of a tunnel of columns. From Rue Saint-Dominique, it is a punctuation mark at the end of a lived-in Parisian street. Directly below it, the tower becomes the frame itself.
This sounds like a small distinction, but it determines almost everything that follows: focal length, camera position, time of day and how much of the city I include. It also prevents me from making ten versions of the same photograph from ten nearby pavements.
Whole tower or detail?
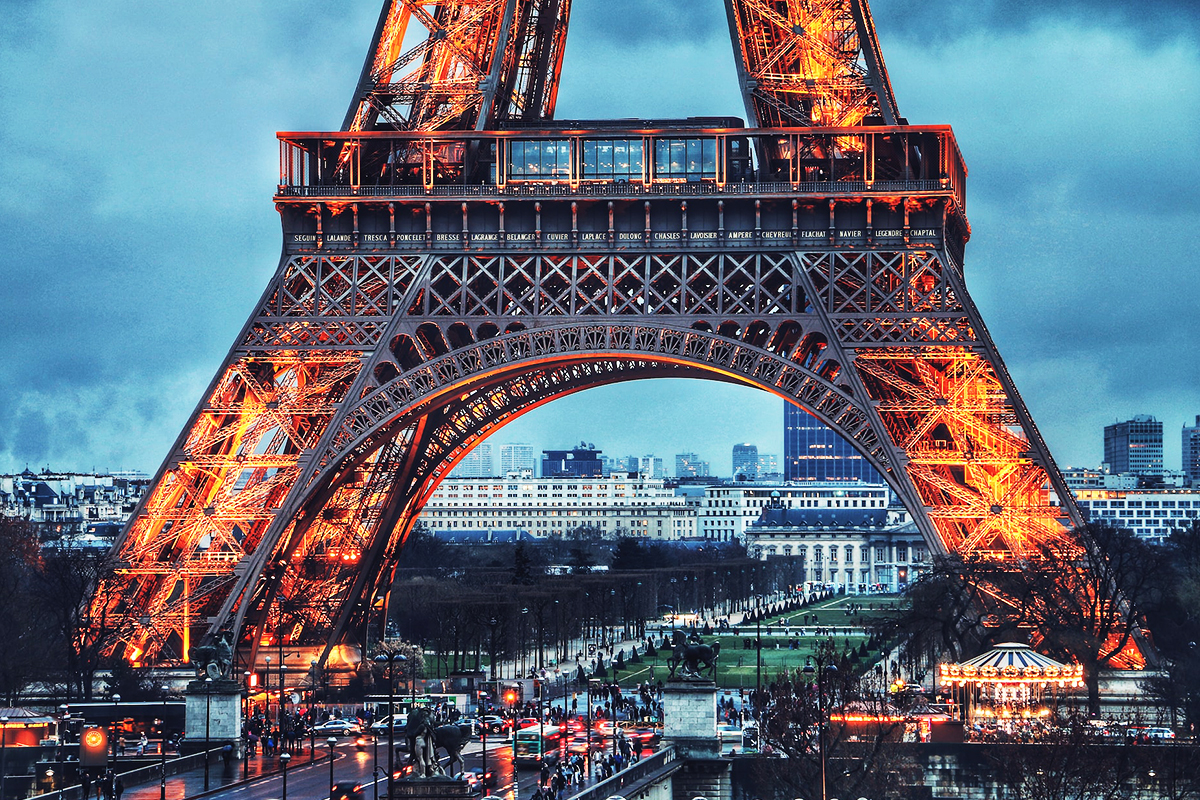
A complete silhouette is useful for an establishing image. Once I have it, I look for fragments: the first-floor arch, an elevator moving through the ironwork, the beacon, a section of lattice against empty sky or the way one leg meets the ground.
Details are particularly useful in difficult weather. A flat white sky can weaken a wide cityscape but provide a clean background for the iron geometry. Rain can deepen the colour of the structure. Mist may remove the summit and make the monument feel less literal.
Postcard or Paris?
There is nothing wrong with making the classic postcard. I simply do it deliberately. A central, symmetrical Trocadéro frame is successful because symmetry belongs to the site—not because a composition rule told me to centre everything.
After that, I turn away from the obvious axis. Paris contributes traffic, balconies, bridges, river boats, trees and people moving through public space. Those elements make a familiar structure specific to one moment.
The 10 best places to photograph the Eiffel Tower
| Viewpoint | Character | Useful focal lengths on full frame | Best general timing | Main challenge |
|---|---|---|---|---|
| Trocadéro esplanade | Grand, symmetrical, unmistakable | 24–70 mm | Early morning or late light | Crowds and an overfamiliar composition |
| Trocadéro gardens and fountains | Layers, water and leading lines | 24–85 mm | Morning, sunset or blue hour | Fountain operation and temporary closures vary |
| Champ de Mars | Close, green and frontal | 20–70 mm | Morning or seasonal colour | Renovation works, events and busy lawns |
| Beneath the tower | Abstract engineering and scale | 14–35 mm | Overcast light or blue hour | Severe convergence and heavy foot traffic |
| Pont de Bir-Hakeim | Strong architecture and Seine context | 35–135 mm | Dawn, golden hour or blue hour | Pedestrians, cyclists, traffic and vibration |
| Avenue de Camoëns | Stairs and elegant urban framing | 50–105 mm | Early morning | Small residential space; easy to obstruct |
| Rue Saint-Dominique | Parisian street compression | 85–200 mm | Late-day light or blue hour | Moving traffic and private businesses/homes |
| Passerelle Debilly | Open river foreground | 35–100 mm | Sunset into blue hour | Busy bridge and few places for a wide tripod |
| Arc de Triomphe terrace | Tower within the whole western city | 100–300 mm | Late afternoon or blue hour | Paid entry, wind and restricted working space |
| Tour Montparnasse | Elevated skyline with the tower prominent | 70–200 mm | Sunset and blue hour | Glass reflections indoors; rooftop conditions |
1. Trocadéro esplanade: the complete view
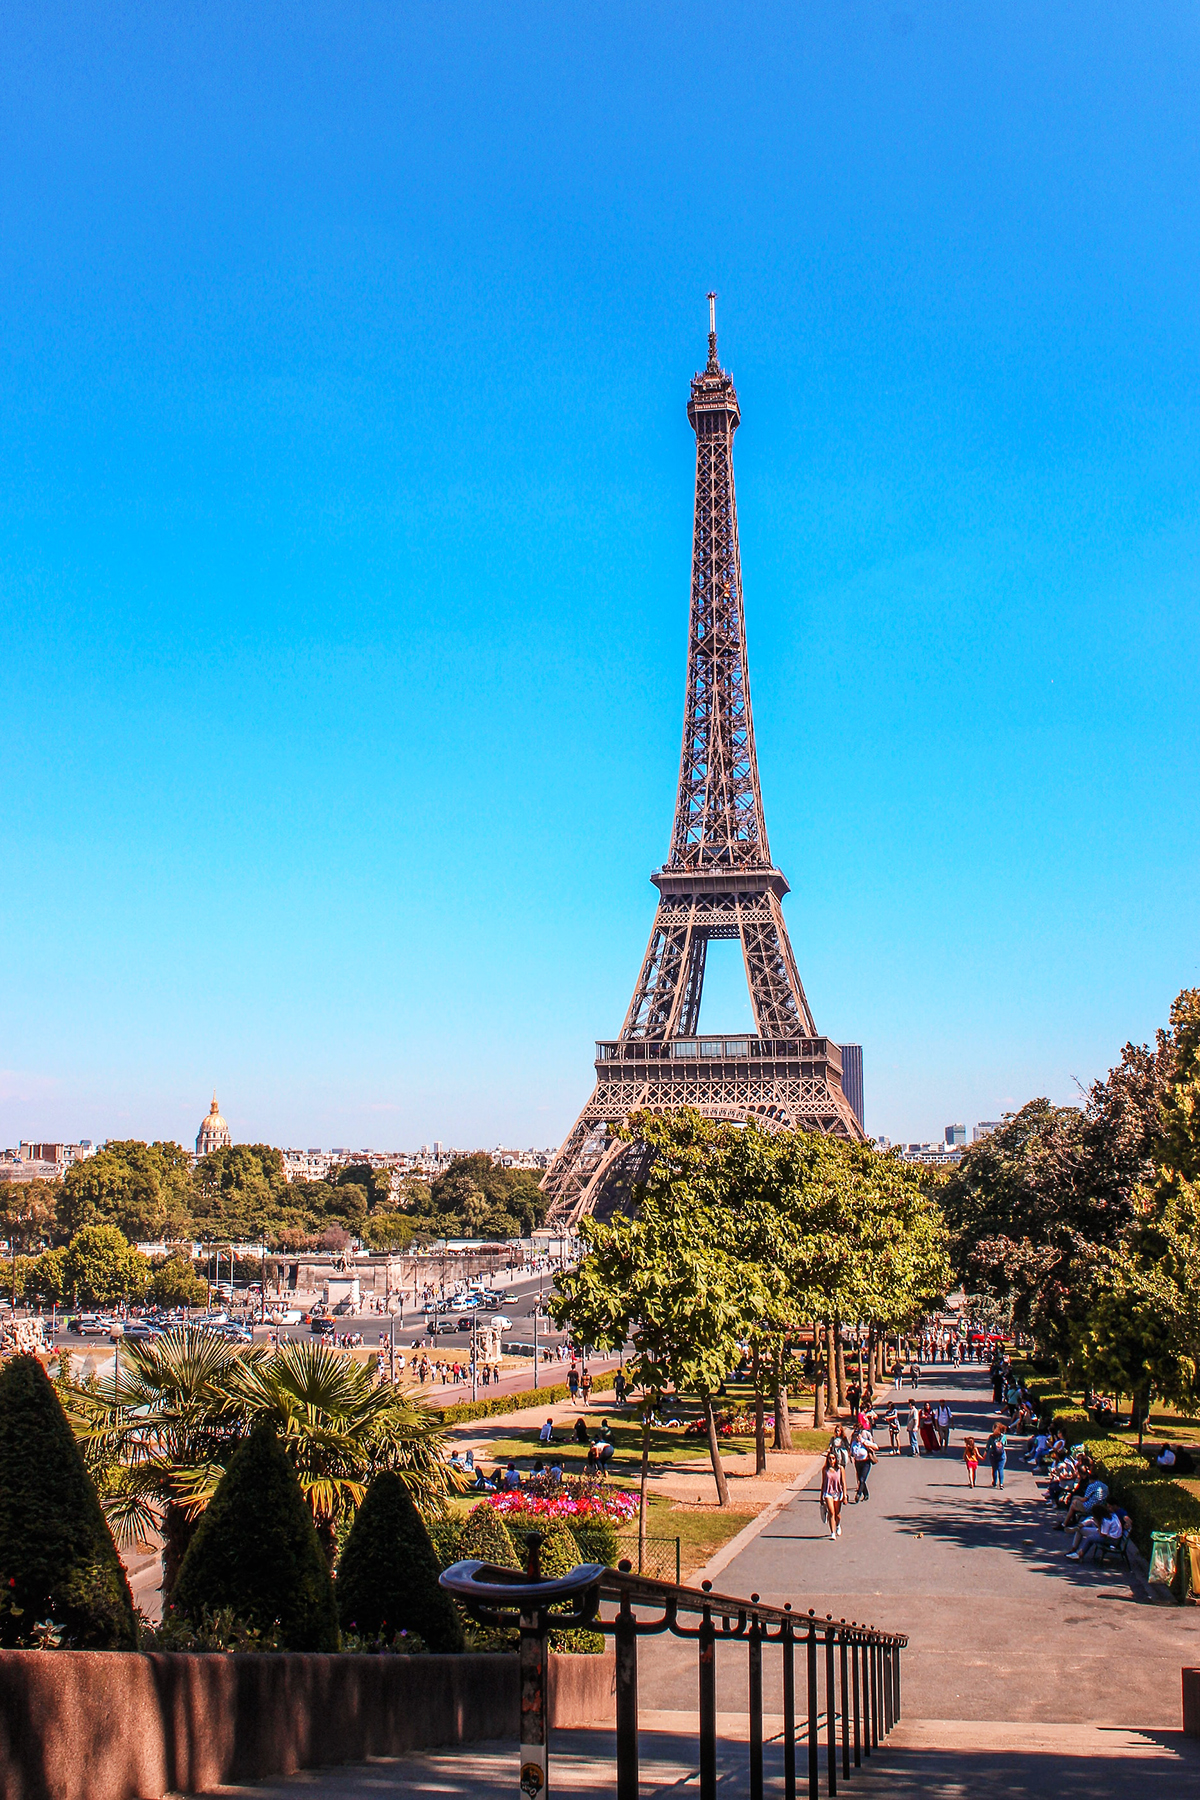
The terrace between the wings of the Palais de Chaillot is the obvious starting point because it solves the first problem cleanly: there is enough distance to include the entire tower without an extreme lens. The Seine, gardens and Champ de Mars align beneath it.
I would make the formal image first. Keep the camera level, use the central axis and check that the tower is genuinely centred rather than almost centred. A 35–50 mm focal length often feels more natural than an ultra-wide view. If the foreground is busy, a slightly longer lens simplifies the scene.
Then I would leave the centre. The terrace edges can place a statue, balustrade or one wing of the Palais de Chaillot against the tower. Those frames are less perfectly symmetrical but usually carry more information about where the photograph was made.
Early morning reduces crowd pressure, but Trocadéro is never a private studio. Wedding sessions, commercial shoots, vendors, tour groups and ordinary visitors all use the same public space. I work quickly at the most contested positions and never ask strangers to clear a large area for my frame.
2. Trocadéro gardens and the Warsaw fountains: use the foreground
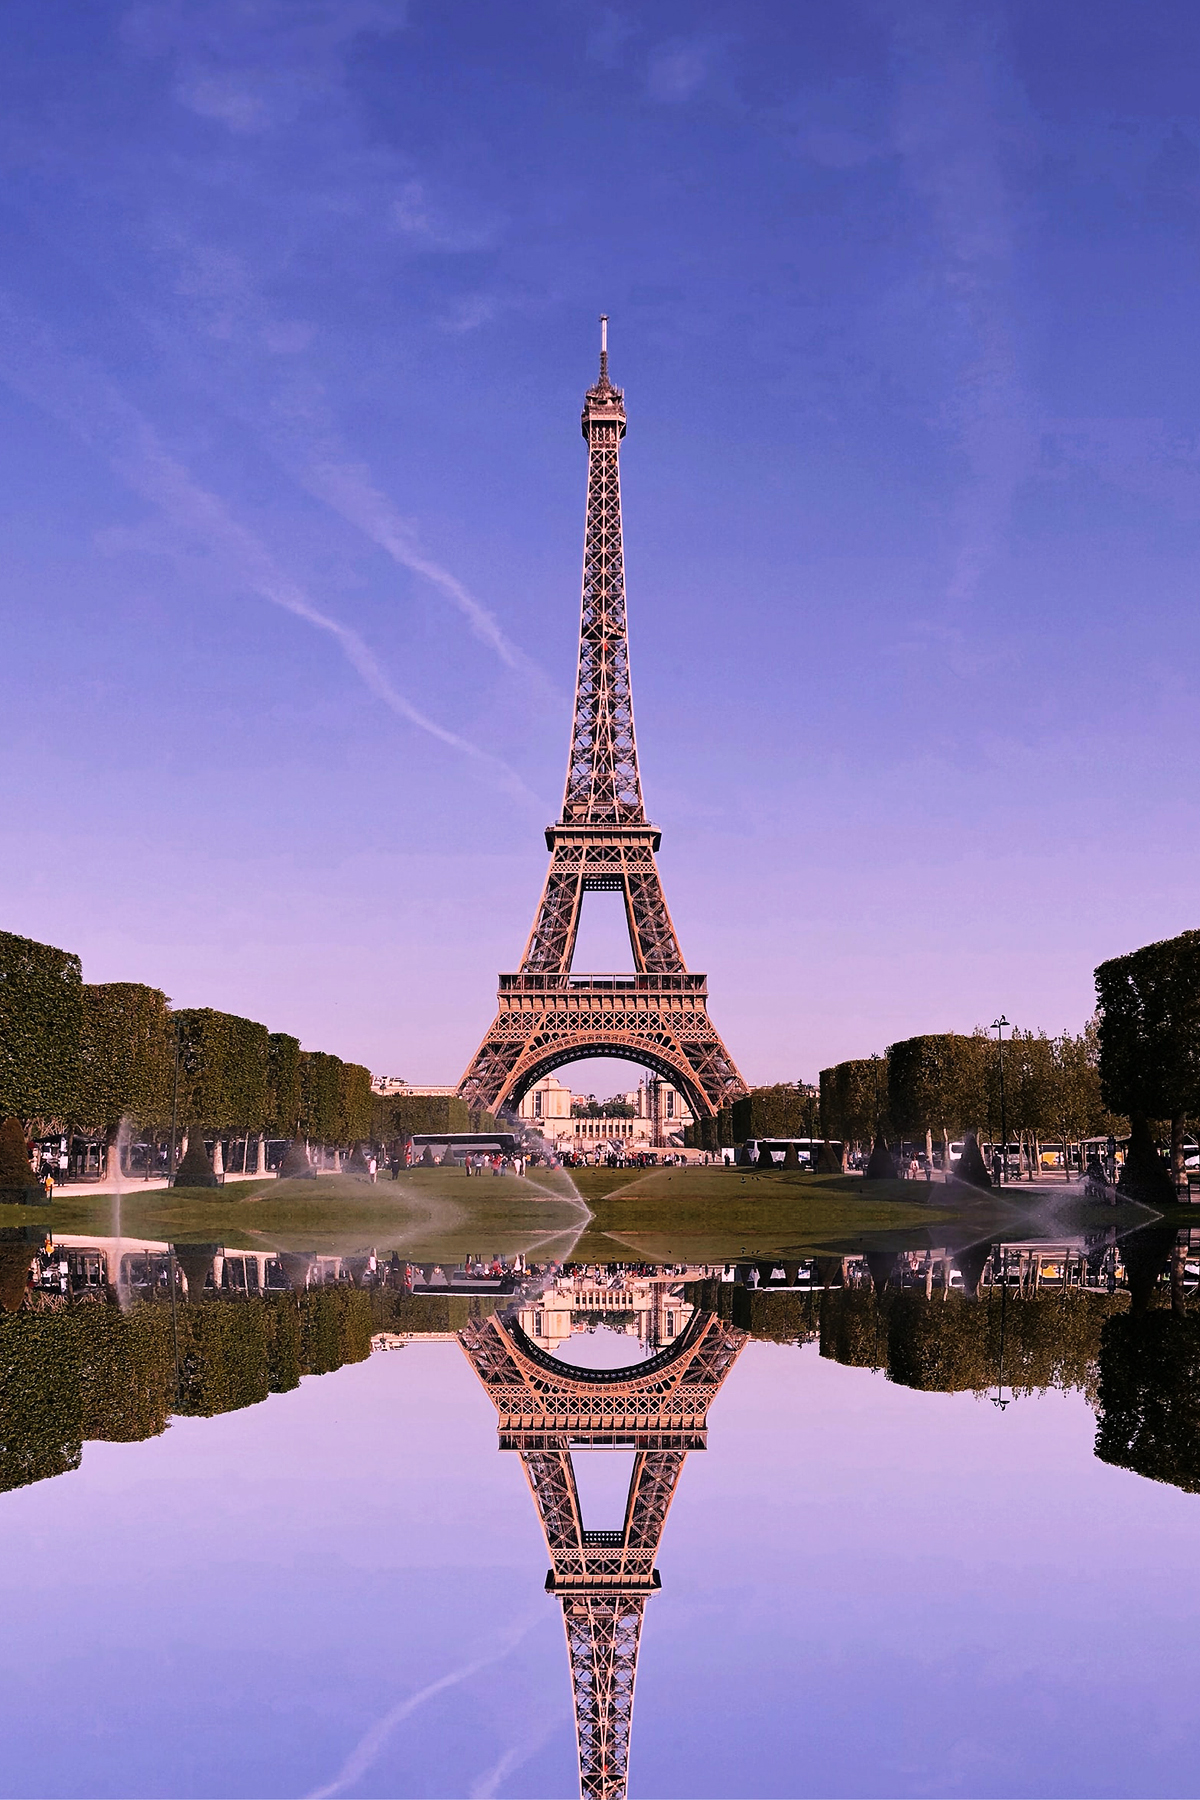
Descending from the esplanade changes the picture. The fountains, pools, paths and sculptures create depth, while the tower rises beyond them. This is where a wide lens becomes more useful, particularly if the water is operating and the frame needs both foreground and sky.
Reflections are possible, but I do not plan an entire session around them. Water levels, fountain schedules, maintenance, weather and event barriers change. A dry basin or inactive fountain is not a failed visit; it simply requires a different composition.
The central axis gives the most formal view. From the sides, statues and water jets can partially overlap the tower. I watch those overlaps carefully. A fountain plume through the summit rarely looks intentional, while a plume offset from the structure can balance the frame.
3. Champ de Mars: closer, greener and less detached
The Champ de Mars places me on the opposite side of the monument. The tower feels nearer, the lower arch becomes more important and rows of trees can organise the composition. Spring foliage, summer lawns, autumn colour and bare winter branches each create a different frame.
The City of Paris is renovating paths and lawns in the park, so access and foregrounds can change. Events also transform this area. I check current notices rather than relying on a photograph made years earlier.
From farther down the lawn, a normal lens can fit the full tower. Moving closer requires a wider lens and introduces stronger perspective. I prefer to keep a little distance unless the exaggerated scale is the point. For portraits, a longer lens from farther away makes the tower appear larger behind the subject without forcing the person to stand at the very base.
4. Beneath the Eiffel Tower: stop photographing a landmark
The official Eiffel Tower site recommends the exact centre of the esplanade as a place to appreciate the structure. Photographically, it is where the tower stops behaving like a tower. Four legs open into a vaulted shape, elevators travel through a mesh of iron and the sky becomes negative space.
An ultra-wide lens is useful here, but it exaggerates every small change in camera angle. I centre the camera carefully if I want symmetry and accept converging lines if I want the structure to feel immense. Trying to “correct” all perspective later can stretch the upper frame unnaturally.
Security screening is required to enter the gardens and esplanade, even if I am not going up the tower. Access to that ground-level area is free. I carry a manageable bag and leave anything prohibited at the hotel because there is no cloakroom or luggage storage at the monument.
5. Pont de Bir-Hakeim: architecture in conversation with architecture
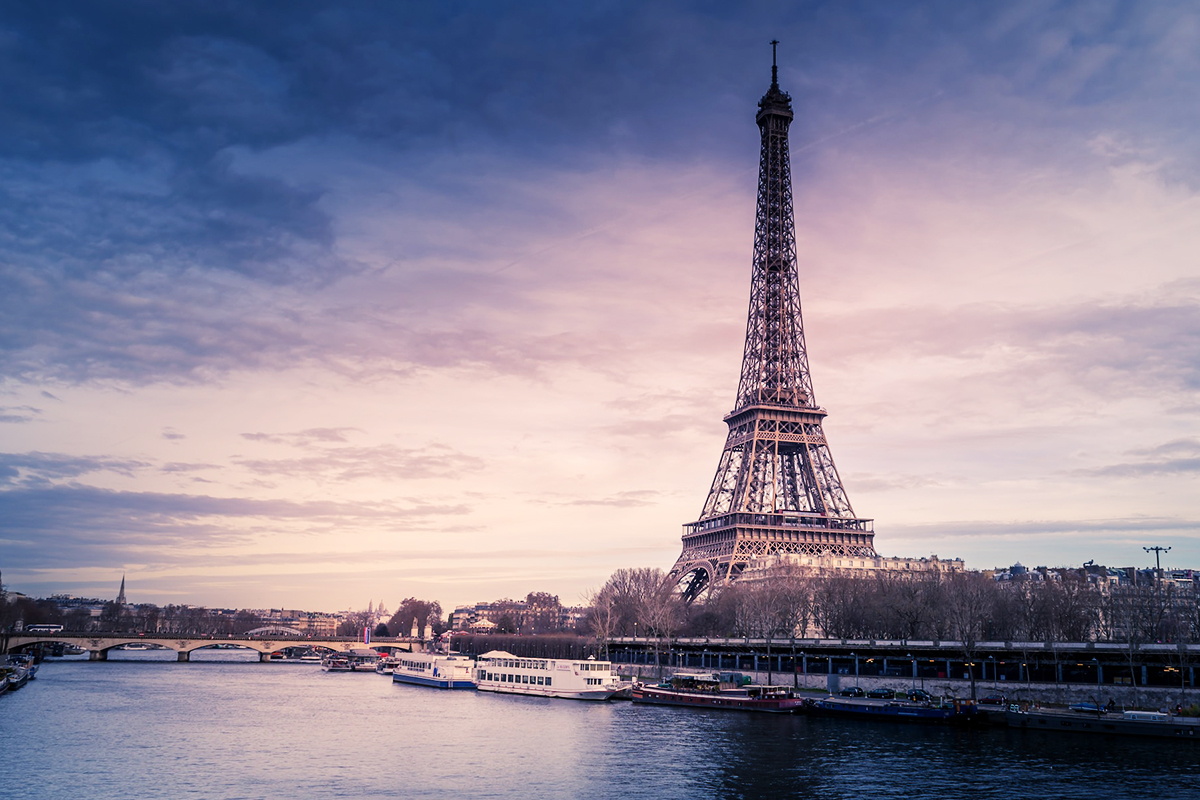
Bir-Hakeim is not just a place from which the tower is visible. The bridge is a subject of its own: repeated steel columns, an elevated Métro line, road traffic, a pedestrian level and open river views.
Under the viaduct, the columns make a strong one-point perspective. A person can provide scale, but I wait for a gesture or separation rather than placing someone mechanically in the centre. Toward the river, the France Renaissante statue and the Eiffel Tower can share the frame. A medium telephoto compresses them; a wider lens preserves more bridge structure.
The location is active. Cyclists, commuters, portrait sessions and film fans all pass through. A tripod leg in a cycle line is dangerous, and long exposures can suffer from bridge vibration. I keep the setup narrow, watch the ground and recheck sharpness at high magnification.
6. Avenue de Camoëns: a small space, not a secret
At the top of the Avenue de Camoëns stairs, the Eiffel Tower appears between stone architecture and ornamental railings. The official tower site now recommends this location, so describing it as a hidden viewpoint is no longer credible.
Its strength is compression. A 50–105 mm lens can bring the tower closer to the surrounding buildings and keep vertical lines calmer than an ultra-wide lens. The stairs create a natural foreground, especially when one person is positioned with enough separation from the railing.
It is also a compact residential space. I do not spread equipment across the stairs, use doorways as changing rooms, place props on private property or turn a quiet street into a production set. Early morning is valuable for both light and courtesy.
7. Rue Saint-Dominique: the tower inside an ordinary street
Rue Saint-Dominique produces a different kind of Paris image. The tower appears beyond façades, signs, lamps, café life and traffic. With a telephoto lens, these layers compress into a dense urban composition.
This is not the place for standing in the road to achieve perfect symmetry. I shoot from a safe pavement position, use a fast shutter speed and allow traffic to become part of the picture. A bus or delivery van may briefly hide the tower, but a cyclist, taxi or pedestrian can provide the moment that distinguishes one frame from the next.
I pay particular attention to privacy and context when people are identifiable. A broad public scene is different from isolating one private person in a way that makes them the subject. For portraits, I work with someone who has agreed to be photographed.
This is also where the ideas in my guide to street-photography subjects become useful: I look for a gesture, repetition or interruption instead of treating every passer-by as something to remove.
8. Passerelle Debilly: the river as breathing room
The Debilly footbridge crosses the Seine northeast of the tower and offers an open view without the formal central axis of Trocadéro. Boats, water, embankments and the bridge railing can all supply foreground movement.
This is one of my preferred types of blue-hour location because the water holds colour after street level becomes dark. A short exposure freezes boats; a longer one turns their lights into lines. Neither is inherently better. I decide whether the boat should be recognisable or become motion.
The footbridge is narrow enough that a large tripod can become inconsiderate. If I use one, I stay close to the edge, maintain a clear route and move when the bridge becomes busy.
9. Arc de Triomphe terrace: put the tower back into Paris
From the Arc de Triomphe, the Eiffel Tower becomes one part of a broad urban pattern. The long avenues radiating from Place Charles-de-Gaulle, rooftops and La Défense give the image scale.
A telephoto lens is more useful than a wide angle. Around 100–200 mm, the tower remains recognisable while enough city survives around it. Longer focal lengths isolate its upper structure or create a dense study of Parisian roofs.
The terrace is exposed and can be windy. I use a secure strap, keep loose accessories in the bag and respect any current restrictions on tripods or large equipment. The viewpoint requires a ticket and a climb, so I check the official opening and access information before building a sunset plan around it.
10. Tour Montparnasse: the skyline view that includes the landmark
The paradox of going up the Eiffel Tower is that the city's most recognisable object disappears from the skyline. Tour Montparnasse solves that problem. Its observatory and rooftop place the Eiffel Tower against a broad view toward western Paris.
For sunset, I arrive early enough to choose a position. Indoors, I place the lens close to the glass and shade it with a dark cloth or jacket to reduce reflections. On the rooftop, wind becomes the greater problem. A 70–200 mm lens covers the most useful range, although a wider frame can show how small the monument is within the city.
This is a paid and commercially operated viewpoint, so hours, prices, rooftop access and equipment policies can change. I verify them directly before the visit.
My practical Eiffel Tower photo walk
The following route is not designed to collect all ten viewpoints. It is designed to produce a coherent set of photographs without spending the whole day underground on the Métro.
| Stage | Approximate purpose | What I photograph |
|---|---|---|
| Trocadéro esplanade | Establishing frame | The complete tower, symmetry and first light |
| Avenue de Camoëns | Urban variation | Stairs, stone railings and a compressed tower |
| Trocadéro gardens | Foreground study | Fountains, sculptures, paths and reflections if available |
| Pont de Bir-Hakeim | Architectural sequence | Columns, Métro structure, river and people in motion |
| Champ de Mars | Close approach | Trees, lawn, full structure and portraits |
| Eiffel Tower esplanade | Detail work | Rivets, arches, elevators and abstract ironwork |
| Passerelle Debilly or Seine bank | Final light | Water, boats, golden illumination and blue-hour colour |
Walking and photographing this route can occupy four to six hours without entering the upper floors. I would split it if I also planned a tower visit. Timed tickets, security, elevator queues and the time spent on each level interrupt the rhythm of a street-photography route.
The route is reversible. For evening light, I can begin around the Champ de Mars, work through the structure and finish across the Seine as the tower illuminates.
The best time to photograph the Eiffel Tower
Dawn and early morning
Early morning gives me space before it gives me colour. Trocadéro and Avenue de Camoëns are easier to compose when the busiest portrait sessions and tour groups have not yet arrived. Streets are cleaner visually, and isolated figures carry more weight.
The exact light depends on season and viewpoint. Trocadéro looks broadly toward the southeast, so sunrise can create backlight or a bright sky around the tower. Champ de Mars faces the opposite direction and may receive more direct morning light. I check a sun-position app for the date rather than trusting a universal “sunrise spot” label.
Golden hour
Low light reveals the iron structure better than a white midday sky. From Trocadéro, late light can warm the tower from the western side of the city. From locations looking toward the sunset, the tower may become a silhouette.
I expose for the brightest important highlight and allow some shadow in the ironwork. Modern raw files recover shadows more gracefully than clipped sky. Bracketing can help when the scene is static, but people, leaves, flags and boats complicate the blend.
Blue hour
Blue hour is the most reliable transition between the city and the illuminated tower. The sky still contains colour, streetlights are visible and the tower's golden lighting does not float in an empty black background.
I begin before the lights come on. Exposure changes quickly, so I revisit the same composition every few minutes. The most balanced frame often arrives during a short interval when sky, tower and street share similar visual weight.
Full night
At full night, contrast becomes harder. The golden tower is bright while surrounding streets can be almost black. I either include illuminated foregrounds or expose specifically for the structure and let the city fall away.
The sparkle sequence creates a second exposure problem. A shorter shutter speed records individual points more distinctly; a longer exposure accumulates more flashes and can make the sparkle denser. I make both rather than attempting to predict the perfect value.
Midday and overcast weather
Midday is not useless. It is good for details beneath the structure, shadows cast by the ironwork and clean blue-sky geometry. Overcast light is even better for close studies because the tonal range is manageable and dark metal retains detail.
Harsh sun is difficult for portraits. I look for open shade, turn the subject away from direct light or wait until a cloud softens the scene. I do not use the tower as an excuse to ignore the face.
How the seasons change the photograph
| Season | Visual character | Advantages | Complications |
|---|---|---|---|
| Spring | New leaves, blossoms and changeable skies | Fresh foreground colour and longer evenings | Rain, rapidly changing conditions and holiday crowds |
| Summer | Full foliage, long daylight and active public space | Late sunsets and extended blue hour | Largest crowds, heat, events and temporary security zones |
| Autumn | Warm leaves, lower sun and more textured weather | Strong colour contrast with the iron structure | Shorter days and wet surfaces |
| Winter | Bare trees, pale sky and early illumination | Cleaner lines, fewer leaves blocking views and practical evening hours | Cold wind on bridges and rooftops; flat grey days |
Major events can alter the entire area. Security zones, concerts, fireworks, maintenance and park renovations may close familiar viewpoints. I treat current access as part of the research for every visit, not as a permanent fact.
Lenses and camera settings I would use
I do not need every lens I own. A 24–70 mm equivalent and a 70–200 mm equivalent cover most of the useful work. A compact ultra-wide lens earns its place for photographs beneath the tower and tight interiors of the bridge structure.
Lens choice by photograph
| Photograph | Useful focal length on full frame | Why |
|---|---|---|
| Full tower from Trocadéro | 35–70 mm | Natural proportions with enough surrounding context |
| Trocadéro fountains | 24–50 mm | Includes foreground geometry and the complete structure |
| Tower from Champ de Mars | 24–70 mm | Adjusts quickly as the distance changes |
| Under-tower abstraction | 14–24 mm | Fits large iron forms at close range |
| Street compression | 85–200 mm | Makes the tower larger among façades and traffic |
| Portrait with tower behind | 70–135 mm | Flattering perspective and strong background scale |
| Elevated skyline | 100–300 mm | Isolates the tower within distant roofs |
| Iron details | 200 mm or longer | Finds repeated patterns and working elevators |
On an APS-C camera, I would choose roughly 16–50 mm plus 50–135 mm to obtain similar angles of view. A phone's main camera is usually more reliable than its ultra-wide module in low light, while a good 2× or 3× camera is useful for street compression.
Starting camera settings
| Situation | Starting point | What I watch |
|---|---|---|
| Daytime cityscape | ISO 100, f/8, 1/250 sec or faster | Highlight clipping and moving people |
| Handheld golden hour | ISO 100–800, f/5.6–f/8, 1/250 sec | Camera shake at longer focal lengths |
| Blue hour on tripod | ISO 100, f/8, 1–8 sec | Bright tower lights and moving boats |
| Full night on tripod | ISO 100–400, f/5.6–f/8, 2–15 sec | Deep shadows, vibration and unwanted light trails |
| Sparkle detail | ISO 400–1600, f/2.8–f/5.6, 1/30–1/125 sec | Whether individual bulbs remain distinct |
| Dense sparkle on tripod | ISO 100–400, f/8, 1–5 sec | Clipped golden lighting and blurred foreground people |
| Portrait | ISO 100–800, f/2.8–f/5.6, 1/250 sec or faster | Eyes, skin highlights and tower scale |
| Traffic light trails | ISO 100, f/8–f/11, 5–20 sec | Stable support and a clean path through the frame |
These values are starting points, not recipes. The tower's illumination, street brightness, wind and camera stabilisation all change the workable exposure.
Aperture and starbursts
Stopping down to f/11 or f/16 can turn point lights into starbursts. The exact shape depends on the lens's aperture blades. Smaller apertures also lengthen the exposure, but they introduce diffraction. I compare f/8 and f/11 before accepting f/16 simply for a more dramatic lamp.
For the exposure choices behind that effect, my guides to aperture and shutter speed provide the longer technical explanation.
Focus and depth of field
From distant viewpoints, focusing on the tower at f/8 usually gives more than enough depth. Under the structure, depth becomes harder because the nearest iron or pavement may be very close. I decide which plane matters rather than expecting everything from my shoes to the summit to be equally sharp.
At night I avoid trusting an unfocused bright preview. I use magnified live view, focus on a hard edge of the illuminated structure, make a test frame and check it at 100 percent.
Raw files and exposure bracketing
Raw capture gives me greater control over the colour difference between a cool sky and warm tower. I keep that difference. Neutralising every colour cast often removes the reason blue hour works.
Exposure bracketing is useful when the tower is illuminated and the city is dark. I blend conservatively. Halos along the iron edges, doubled pedestrians and an unrealistically bright foreground reveal the technique faster than the dynamic range justified it.
How I would photograph the Eiffel Tower with a phone
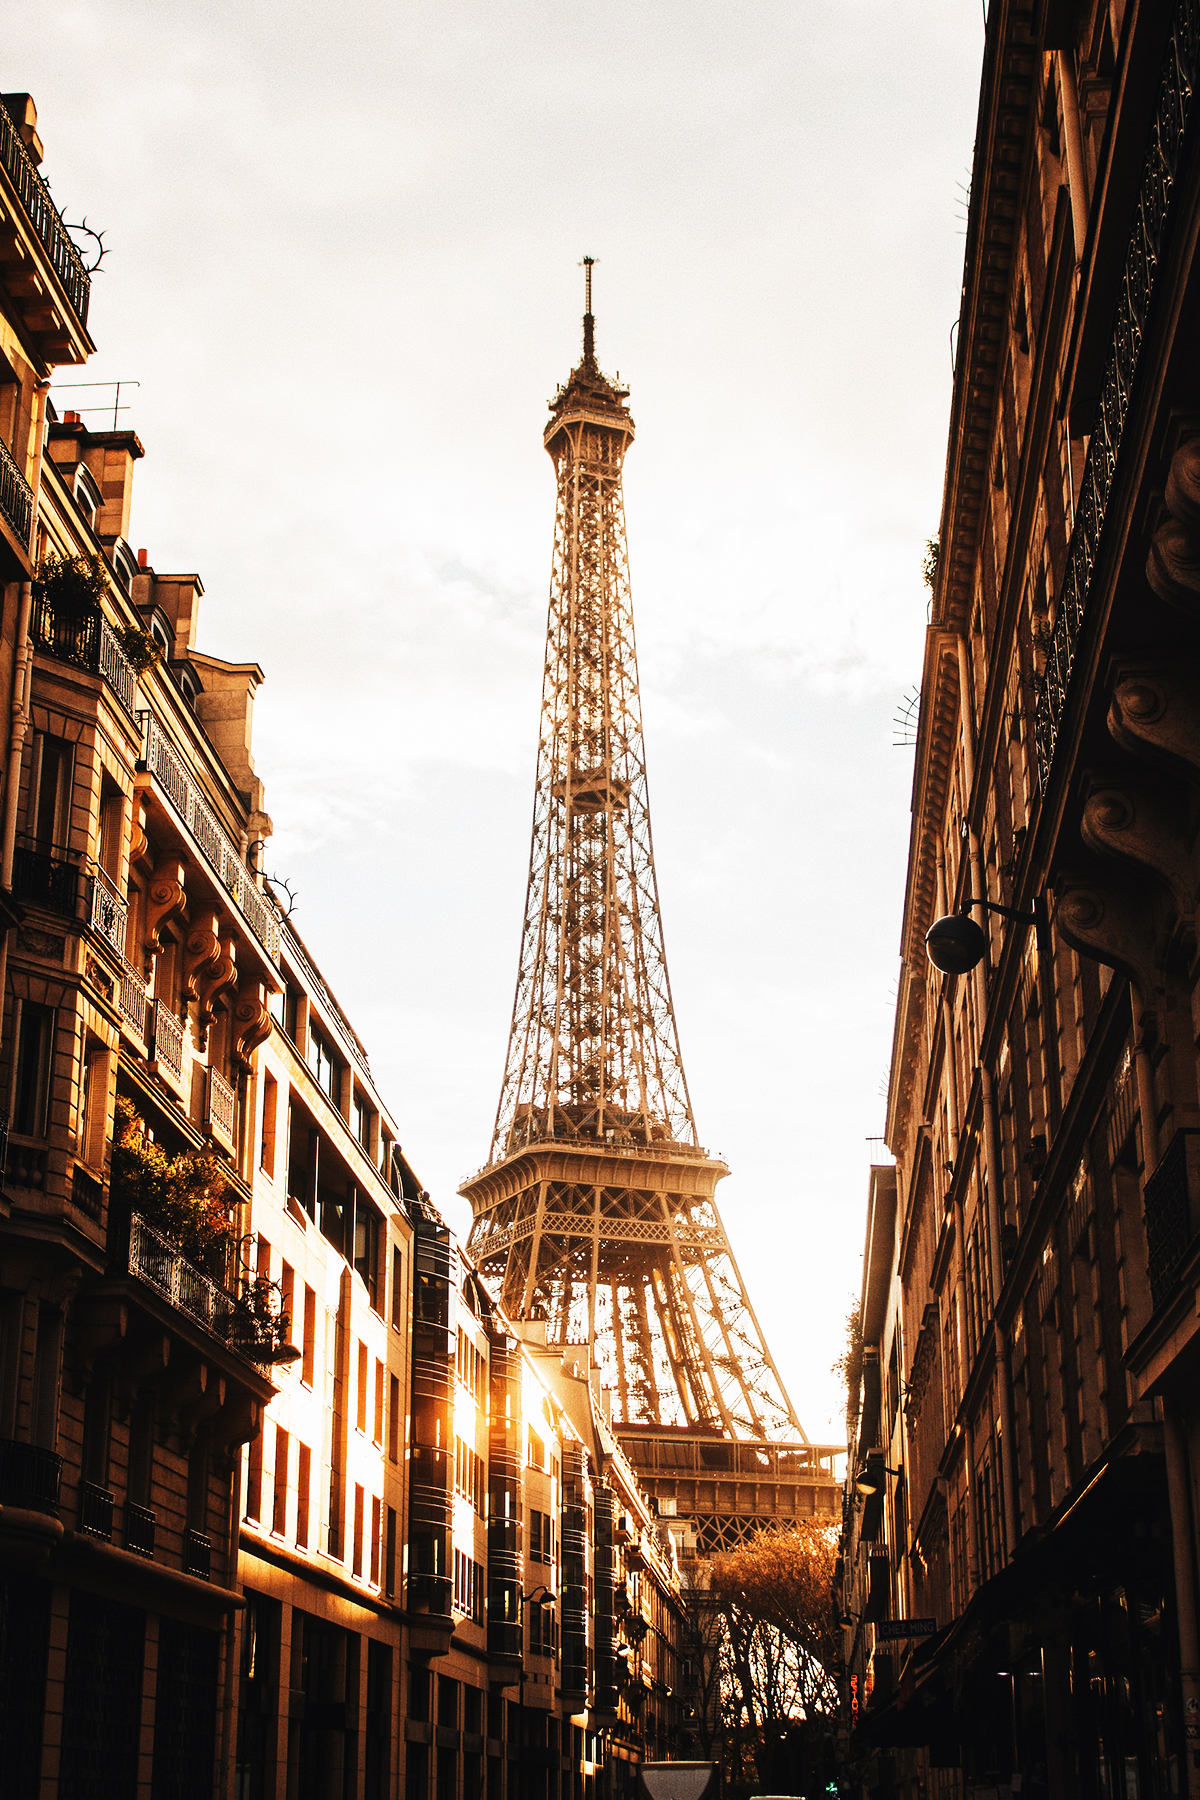
The phone solves one problem: it lets me react quickly in crowded public space. It also creates three common errors—an ultra-wide tower leaning dramatically backward, digital zoom destroying detail and night mode blurring moving people.
I begin with the main camera, clean the lens and keep the phone level. If I cannot fit the tower, I step back before switching to ultra-wide. For street views, I use an optical 2× or 3× camera if the phone has one; otherwise I take the full-resolution image and crop moderately later.
At blue hour, I tap the illuminated tower and lower exposure until the golden detail remains visible. I brace the phone against a railing only where it is safe and permitted. From the tower itself, I never extend a phone or selfie stick through railings—the official safety guidance explicitly prohibits it.
For a panorama, I move slowly and keep the exposure consistent. People near the camera can be cut or duplicated by stitching, so I wait for a clearer foreground.
Portraits with the Eiffel Tower
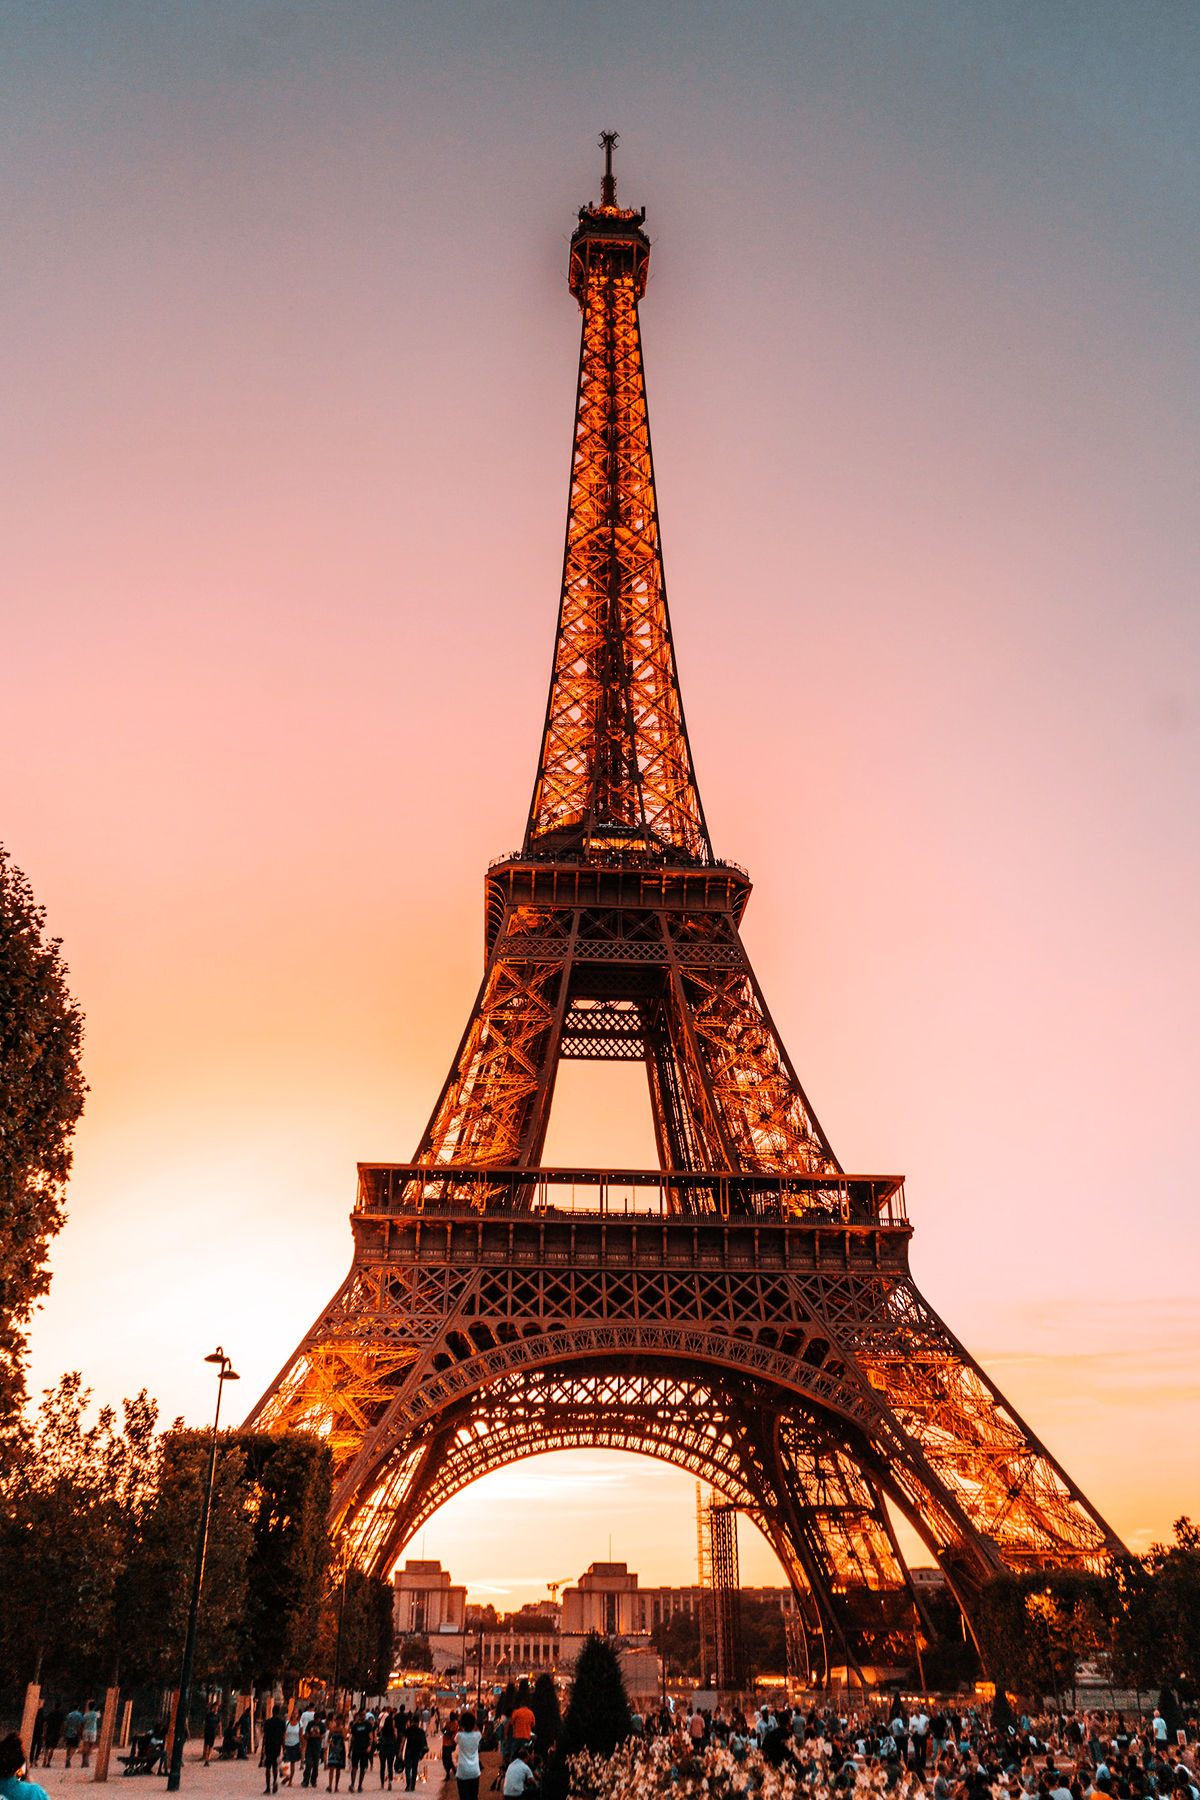
A successful tower portrait is mainly a distance problem. If the person stands close to the camera and the tower is far away, a wide lens makes the monument look small. Moving farther from the person and using a longer lens increases the apparent size of the background.
I usually begin between 70 and 135 mm, leave enough distance between the subject and the background, and keep the aperture around f/4 or f/5.6. The tower remains recognisable without becoming a sharp distraction. At f/1.4, its outline may dissolve too far; at f/11, the portrait can look like a person pasted onto a busy postcard.
That balance is more important than simply chasing maximum bokeh. The background should be soft enough to separate the person but clear enough that the location still matters.
I also watch the tower's legs and summit. A leg growing from a person's shoulder is difficult to fix later. A small move left or right creates separation.
The “holding the tower” photograph is a perspective trick, not a special location. Champ de Mars provides room to position the subject and camera at different distances. I line up the hand with the tower in live view, then give simple instructions rather than expecting the subject to see the alignment.
Photographing the Eiffel Tower at night: what the copyright rule actually means
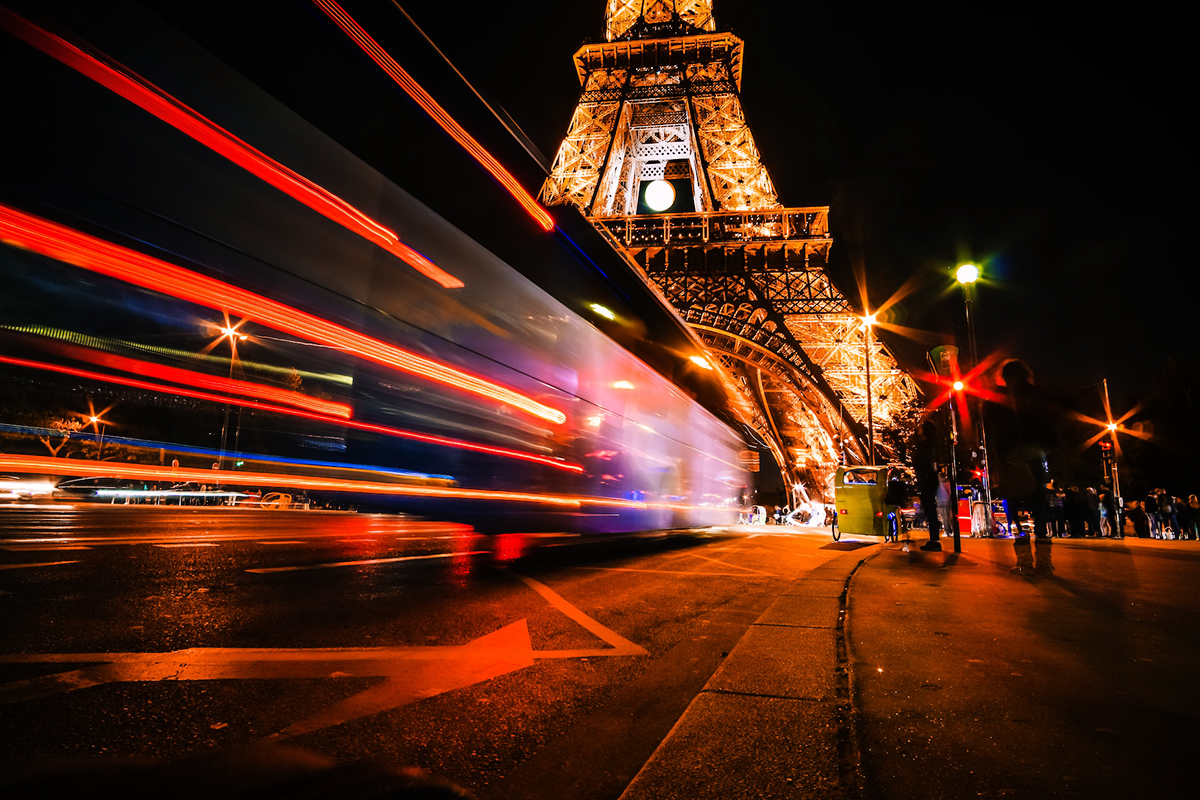
The internet often reduces this subject to a misleading sentence: “It is illegal to photograph the Eiffel Tower at night.” That is not what the tower's official guidance says.
The tower itself, photographed by day, is in the public domain. The golden illumination, twinkling lights, beacon and event lighting are protected works. An individual may photograph the illuminated tower and share the images on social media. Private use does not require prior approval.
Professional use is different. In its official image-rights guidance, SETE, the tower's operating company, states that professional use of images showing the protected night lighting requires prior authorisation and may involve a fee, depending on the project, media and use. A monetised website, advertisement, product, paid campaign, book cover or licensed stock image should not be treated casually as private sharing.
For this article, I would obtain a written determination from SETE before commercially publishing an illuminated night photograph as a prominent site asset. I would keep that permission with the image's licence record. This is a practical rights-management step, not legal advice.
When does the Eiffel Tower sparkle?
The golden lighting begins automatically after nightfall. The sparkle runs for five minutes at the start of each hour once the tower is illuminated. The final sequence depends on the monument's seasonal closing time: under the current official schedule, it may finish at midnight or extend to 1 a.m. in summer.
I check the official illumination page for the date rather than repeating a permanent “ends at 1 a.m.” claim. Special illuminations and exceptional events can also replace the ordinary appearance.
A short history that helps the photography
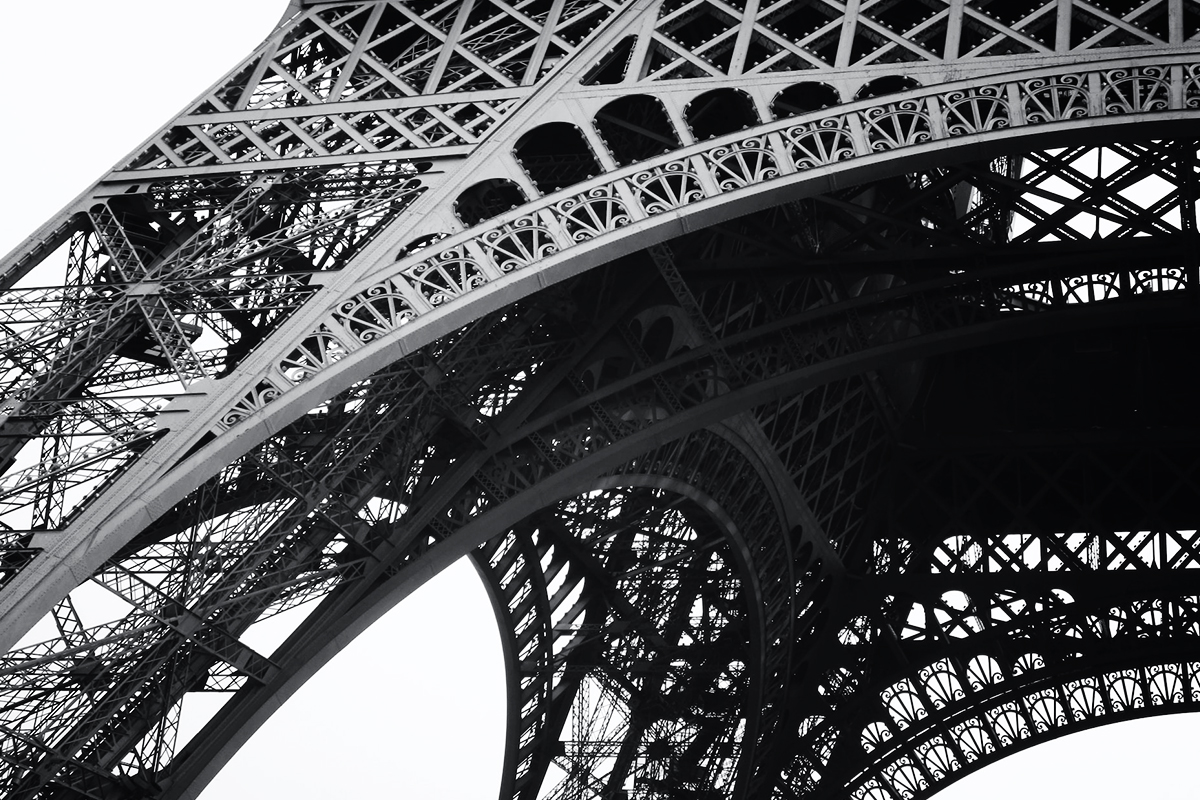
The tower was constructed for the 1889 Exposition Universelle. Work began in January 1887 and finished on 31 March 1889—a little over two years later. The official history records 18,038 metallic parts, 2.5 million rivets and 7,300 tonnes of iron.
Those numbers become useful when I move close. The distant silhouette is elegant; the structure beneath it is industrial, repetitive and dense. The tension between those two readings is the real photographic subject.
The tower now reaches 330 metres with its antenna. Public areas are arranged on the first floor, second floor and summit. From the second floor upward, the view may be spectacular, but the best photographs of the tower are made elsewhere because the landmark itself is no longer in front of the camera.
At the summit, visitors can see a reconstruction of Gustave Eiffel's office through windows. The old article described a hidden apartment as if visitors could enter it. The more accurate description is a recreated scene with wax figures of Eiffel, his daughter Claire and Thomas Edison, visible as part of the summit visit.
Visiting the Eiffel Tower in 2026
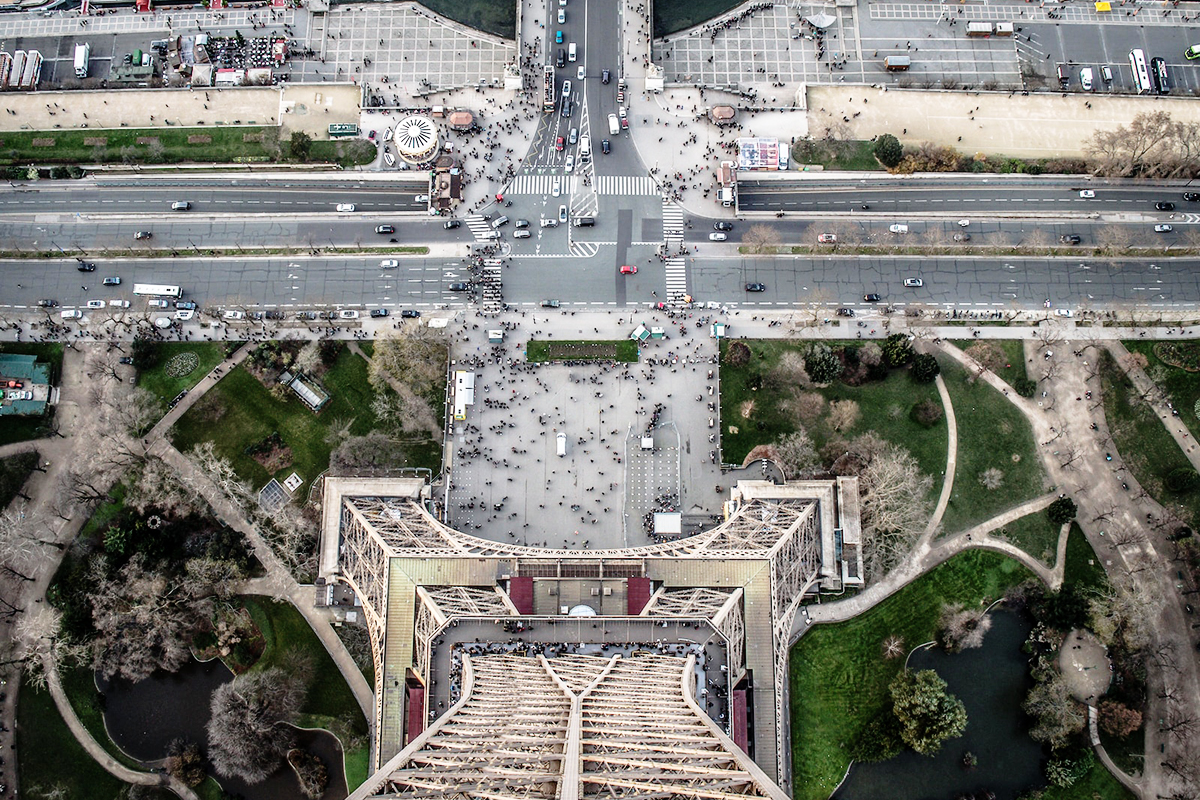
I do not need a tower ticket to make most photographs in this guide. The gardens and esplanade beneath the structure are free after security screening. A ticket is required to ascend.
Current ticket options
These were the standard official individual prices checked on 13 August 2026. They should be treated as dated information, not a promise for a future trip.
| Access | Adult | Age 12–24 | Age 4–11 | Under 4 |
|---|---|---|---|---|
| Second floor by stairs | €14.80 | €7.40 | €3.80 | Free ticket required |
| Second floor by elevator | €23.50 | €11.80 | €6.00 | Free ticket required |
| Summit: stairs to second floor, then elevator | €28.00 | €14.00 | €7.00 | Free ticket required |
| Summit by elevators | €36.70 | €18.40 | €9.20 | Free ticket required |
The climb to the second floor contains 674 steps and commonly takes about 30–45 minutes, depending on fitness and crowd flow. The summit is accessible only by elevator from the second floor. A second-floor ticket cannot simply be upgraded at the top of the queue, so I choose the intended level before buying.
Opening hours vary by date, season, maintenance and exceptional events. I use the official rates and opening-times calendar, not an old schedule copied into a blog post.
Which level is best for photography?
The second floor is often the most photographically useful. Paris is legible, streets have shape and monuments remain large enough to identify. At the summit, the scale is broader but atmospheric haze and thick protective structures can reduce clarity.
The first floor is best for the tower itself: iron surrounds the view, and the glass floor introduces a different sense of height. I would visit the highest level included in the ticket first, then photograph lower floors on the descent, following the official visitor flow.
Getting there by public transport
The official address is 5 avenue Anatole France, 75007 Paris. Public transport is easier than driving.
| Stop | Service | Approximate walk stated by the official site |
|---|---|---|
| Bir-Hakeim | Métro line 6 | Under 10 minutes to Entrance 1 |
| Trocadéro | Métro line 9 | About 15 minutes |
| École Militaire | Métro line 8 | About 15 minutes |
| Champ de Mars–Tour Eiffel | RER C | About 5 minutes to Entrance 1 |
At the time of this update, Champ de Mars–Tour Eiffel station is temporarily closed from 15 July to 22 August 2026. This is exactly why route information must be checked shortly before travel. Bus routes and local diversions also change.
Security and camera bags
All visitors pass an initial security check to enter the site; ticket holders pass another check before the stairs or elevators. The tower does not provide luggage lockers, a cloakroom or storage for rejected items. Large bags and prohibited tools can end a planned visit before the photography begins.
I take one camera, a compact lens selection, spare battery and minimal accessories. A small kit is easier to screen and safer on crowded levels. I never leave a bag unattended.
Accessibility
Wheelchair users and visitors with reduced mobility can access the first floor and lower level of the second floor by elevator. The summit and stair routes are not accessible to people with reduced mobility or crutches for evacuation-safety reasons. I check the current official accessibility page before purchasing because lift availability and operational conditions can change.
Food inside the tower
The old article named 58 Tour Eiffel, which is outdated. The current first-floor restaurant is Madame Brasserie; Jules Verne is on the second floor. There are also buffets, a second-floor macaron bar and a summit champagne bar. Restaurant reservations and tower tickets are handled separately in several cases, so I would never assume a dining booking includes a full tower visit.
Photographing responsibly in a crowded city
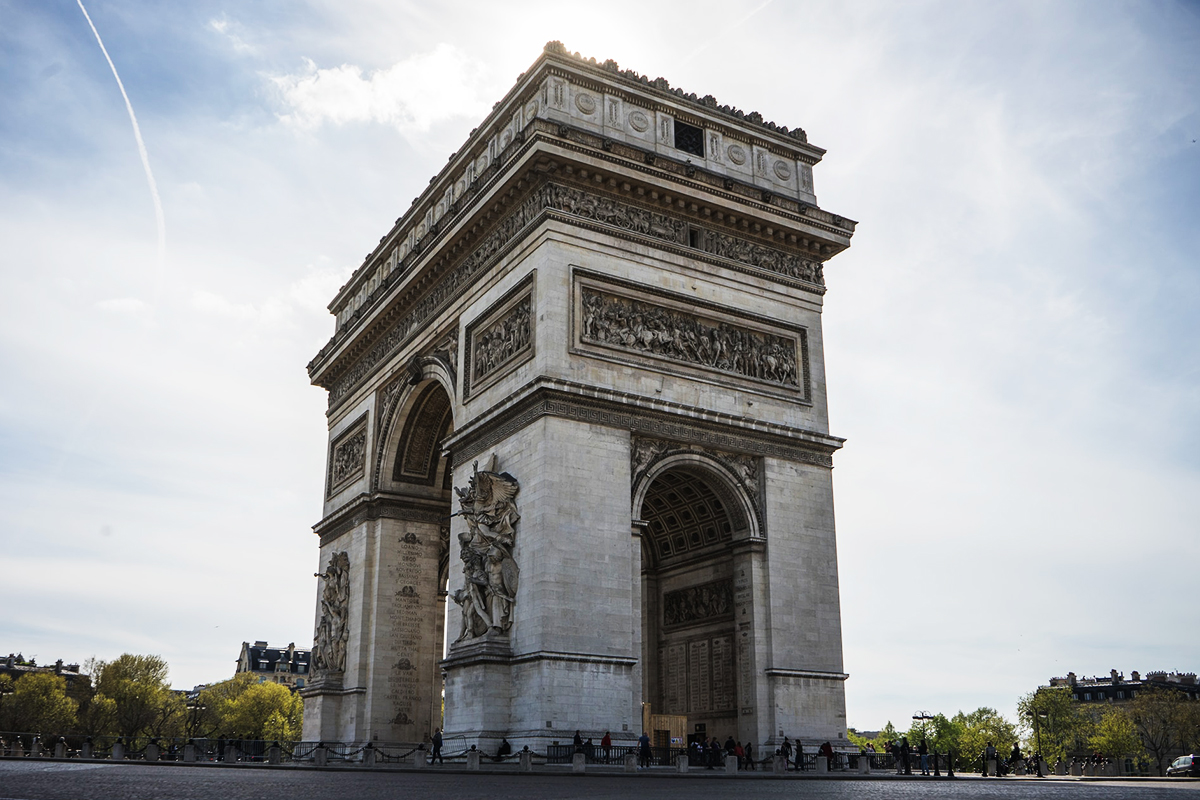
Famous viewpoints fail when photography becomes more important than the place. My working rules are simple:
- I keep pavements, stairs, bridge paths and cycle lanes open.
- I do not stand in moving traffic for a centred street photograph.
- I do not use residential doorways, café terraces or private property as an uninvited set.
- I ask before making an individual stranger the clear subject of a portrait.
- I use a compact tripod only where it can stand without creating a hazard.
- I pack away quickly when security, staff or current site rules require it.
- I do not fly a drone. Central Paris is not a casual recreational flight area, and French rules restrict flights over people, monuments and controlled locations.
- For a commercial production, crew, lighting setup or occupation of public space, I check filming and location permissions in advance.
The goal is not only courtesy. A smaller footprint usually produces better street photographs because I can respond to the scene rather than trying to control it.
Frequently asked questions
Where is the best place to take an Eiffel Tower photo?
Trocadéro is the best all-round location for a complete, recognisable view. Bir-Hakeim is stronger when I want architecture and depth, while Avenue de Camoëns or Rue Saint-Dominique creates a more urban photograph.
What is the best time to photograph the Eiffel Tower?
Early morning is best for lighter crowds. Golden hour and blue hour give the most balanced colour. For the illuminated tower, I arrive before nightfall so I can photograph the transition rather than only a bright structure against black sky.
Can I photograph the Eiffel Tower at night?
Yes. Individuals can take night photographs and share them on social media. Professional use of images showing the protected illumination requires prior authorisation from SETE and may be subject to a fee.
Is the Eiffel Tower sparkle copyrighted?
Yes. SETE states that the golden illumination, sparkle, beacon and event lighting are protected. The intended use—not merely pressing the shutter—determines whether professional authorisation is needed.
When does the Eiffel Tower sparkle?
For five minutes at the beginning of each hour after the tower's illumination turns on at nightfall. The last sequence varies with the seasonal closing schedule, so I check the official lighting page for the visit date.
Can I photograph the Eiffel Tower for free?
Yes. All exterior viewpoints in the public areas discussed here can be enjoyed without buying a tower ticket, although paid observation decks such as Tour Montparnasse and the Arc de Triomphe terrace require admission. The tower's gardens and esplanade are free after security screening.
What lens is best for the Eiffel Tower?
A 24–70 mm equivalent is the most versatile single lens. I add a 70–200 mm for street compression, portraits and elevated views. An ultra-wide lens is useful directly beneath the structure but unnecessary for most distant viewpoints.
Do I need a tripod?
No for daylight, and often no at blue hour with a modern stabilised camera and fast lens. A tripod helps with long exposures and clean low-ISO night files, but it must not obstruct public movement. Current location and monument rules take priority.
Can I go under the Eiffel Tower without a ticket?
Yes. The gardens and esplanade beneath the tower are free, but visitors must pass security screening. A ticket is required for the stairs or elevators.
How many stairs are there to the second floor?
The visitor route contains 674 steps to the second floor. The summit cannot be reached entirely by stairs; access from the second floor is by elevator.
Is the summit worth it for photography?
It is worth it for the experience and a broad view of Paris. For city photography, I often find the second floor more useful because streets and landmarks remain visually legible. For photographs containing the Eiffel Tower, an external viewpoint is obviously better.
Can I take a camera bag into the tower?
A normal compact camera bag is generally practical, but all bags are screened, oversized luggage is not accepted and there is no cloakroom. I check the current prohibited-item rules and carry only what I need.
Can I use a drone near the Eiffel Tower?
Not as an ordinary tourist flight. Dense crowds, protected monuments and restricted urban airspace make central Paris unsuitable for casual drone use. Professional or exceptional flights require the appropriate aviation and location authorisations.
How do I make the tower look large behind a person?
Increase the distance between camera and subject, then use a longer focal length. A 70–135 mm lens from farther away makes the tower appear larger than a wide-angle lens used close to the subject.
What should I do if it rains?
Use the wet streets. Reflections, darkened iron and umbrellas can produce a more specific Paris photograph than a clear sky. Bir-Hakeim provides structural cover in places, but I remain clear of traffic and do not assume equipment is protected from wind-driven rain.
Final thoughts
The Eiffel Tower does not need help being recognisable. The photographer's work begins after recognition.
I can centre it at Trocadéro and make the photograph about symmetry. I can compress it into Rue Saint-Dominique and make the photograph about Parisian density. I can place it beyond Bir-Hakeim's columns and make the photograph about movement through architecture. I can stand below it and remove the skyline entirely.
None of these viewpoints is secret. Originality comes from the smaller decisions: where the frame begins, how one pedestrian occupies it, whether the tower is lit by the sky or separated from it, and when I decide that the scene needs less rather than more.
That is why I prefer a walking route to a checklist. The tower stays in sight, but Paris keeps changing around it. The best photograph is often not the one made at the most famous spot. It is the moment when the landmark finally belongs to the rest of the frame.